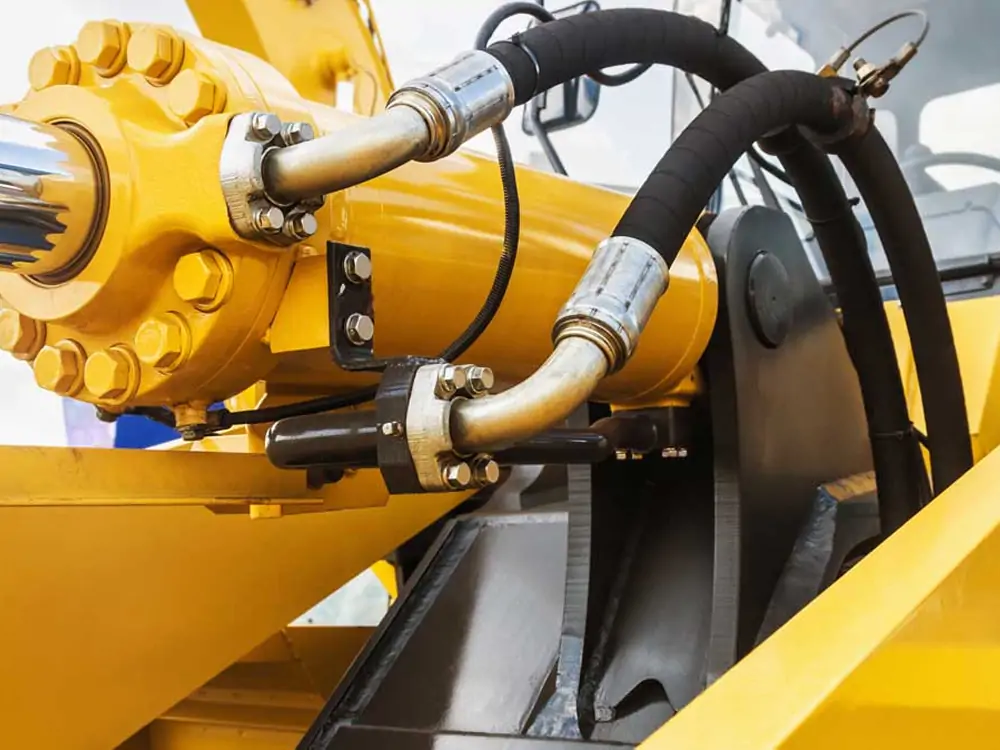
Hydraulic hoses are popular in industrial and commercial applications for transferring hydraulic fluid. These hoses are flexible and specially designed to withstand high-pressure hydraulic forces. As a result, they became ideal for applications where a rigid pipe is not recommended. The performance depends not only on the product’s quality but also on professional installation. Therefore, how to connect hydraulic hoses is an important topic to discuss.
Connecting hydraulic hoses is a tricky process that requires attention to detail and techniques. This attention ensures a safe and efficient hydraulic system. Besides, adequate hydraulic hose installation extends the system’s lifespan and prevents costly repairs. A professional installation process may have several steps. So, this article brings a comprehensive guide to understanding these steps quickly.
This article categorized the “how to connect hydraulic hoses” process into eight fundamental steps. Each of these steps includes the necessary information that you may need in your system. We will try to give a more straightforward way of installing hydraulic hoses. Yet, your system may have some complications, which you can consult with our engineers. To learn more about different hoses, read this article, “Different Types of Hoses and Their Uses“. In addition, you can read this article, “Industrial Hoses: A Definitive Guide“, for a better understanding of industrial hoses.
How to Connect Hydraulic Hoses
We know from previous articles that hydraulic hoses are essential in a system. It enables the transmission of power and control of the fluid. Therefore, the hydraulic hose installation process requires precision and attention to detail. In this section, we will guide you on how to connect hydraulic hoses. We recommend following these steps to ensure your system’s safety, efficiency, and longevity.
Step #1 Gather Necessary Tools and Equipment
Professionals always gather the necessary tools before every installation and repair service. It helps ensure a smoother and more efficient hydraulic hose installation. Besides, it also minimizes the risk of errors or accidents.
Before connecting hydraulic hoses, you should gather all the tools and equipment required for this step. You may need a hydraulic hose cutter, crimper machine, fittings, safety gear (gloves, glasses), measuring tape, and marker.
Step #2 Wear Safety Equipment
Every installation process may go to a hazardous situation. In this case, safety gear prevents injuries and accidents. Gloves and safety glasses are the most common safety gear you should wear during the installation process. High-pressure fluids may create severe injuries if they come into contact with the skin or eyes. Moreover, the cutting method may create sharp pieces of debris, which is also harmful to the skin or eyes.
Step #3 Measure And Cut The Hydraulic Hose
The third step in connecting hydraulic hoses is to measure and cut the hose to the desired length. The hose length should be accurate based on the application requirements and the distance between the two endpoints. While considering the size of the hydraulic hose, the minimum bend radius should be considered, too. The bend radius is the minimum radius a hydraulic hose can bend without kinking. If the system turns the hose beyond its minimum bend radius, it can cause damage to the hose. As a result, you get premature failure and potential safety hazards.
It is also essential to consider the fitting insertion depth. Above all, you should ensure the hose is not under pressure before cutting it. Cut the hydraulic hose clean and squarely to connect the fittings. You can do this using a high-quality hydraulic hose cutter.
Step #4 Clean The Hose Ends
After cutting the hose, it is crucial to ensure both ends are free from dirt and debris. This debris, dirt, or contaminants on the hose ends may interfere with the connection. As a result, it may cause leakage and lead to system failure. Therefore, cleaning the hose ends ensures proper installation and functioning of the system.
For cleaning, you could use a clean rag and a solvent. First, wipe the ends of the hose with a clean rag to remove any visible debris. Next, apply the solvent to the rag and wipe the hose ends to remove any remaining contaminants.
Step #5 Install The End Fittings With The Hose
This step is the most critical in the process of connecting hydraulic hoses. Installing the end-fittings has several steps. Taking the time to install the end fittings prevents potential problems. It also ensures optimal system performance.
- Select fitting series: Selecting the ideal appropriate series that matches the hose is crucial. In this case, you can consider the hose size, pressure rating, and end connection type. Proper fitting series ensures precision connection and optimal performance of the system.
- Push on the hose fitting by marking the insertion depth: After selecting the fitting series, keep the insertion depth on the hose fitting. Insertion depth refers to the depth to which the hose should be inserted to ensure a secure connection. Marking on the fitting prevents over-insertion of the hose, possibly leading to system failure.
- Adjust crimper settings and verify its capabilities: The next step is to connect the hose with the chosen end fitting. A Crimper machine is a tool that creates a secure and stable connection between these two components. Now, adjust the crimper settings to match the hose and fitting series. In this case, you can follow the manufacturer’s specifications.
- Place the die ring and crimp the hose: After adjusting the crimper settings, place the die ring on the crimper. Ensure that the die ring matches the fitting series and hose size. In this case, the die ring shapes the fitting and hose into the desired connection. Now, crimp the hose and fitting together using the crimper machine. The process typically compresses the fitting and hose, creating a tight seal and secure connection. This step is the most critical, so ensure you did crimping correctly.
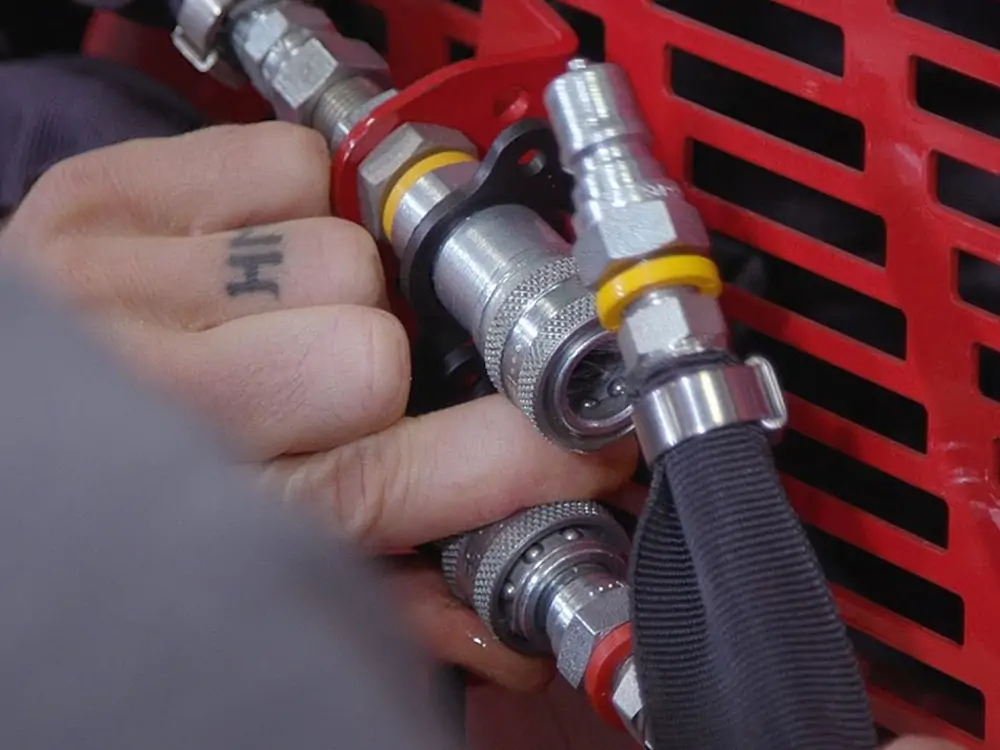
Step #6 Install End-to-end Fittings
This step is also one of the most essential parts to consider in connecting hydraulic hoses. Therefore, it would be wise to take the time. This step connects the hoses with fittings on either end of a hydraulic system to complete the hydraulic hose assembly. It is essential to ensure correctly installed and tightened fittings.
Once you have crimped the fittings, you can connect the two ends of the hose to create the complete hydraulic hose assembly. You can do it by sliding one fitting into the other and securing it in place. Next, use a wrench or other tool to tighten the fittings. By doing this, you can ensure that the connection is leak-proof and will hold up under pressure.
Step #7 Secure The Hose With Clamps
The longevity of any machine or system depends on professional installation and maintenance. Securing the hose with clamps is a crucial step to consider. The primary job of hose clamps is to keep the hydraulic hoses in place. An improper clamping lets hydraulic hoses move and come loose during operation. It creates leaks, system failure, or other hydraulic system hazards. You can follow the steps below to secure the hose with clamps.
- First, choose the appropriate type and size of the clamp for the target application. A wide range of sizes and styles are available in the market.
- Second, position the clamps over the hydraulic hoses in the specific location. Hose clamps are typically positioned where the system connects the hose. You can also use them at intervals along the length of the hose.
- Third, tighten the clamp securely using the right tool. Clamp types may offer different tightening mechanisms, such as turning a screw or a bolt.
- Finally, check the clamp regularly to ensure a tight and secure state. Over time, vibration or other factors may cause the clamp to loosen. It compromises the integrity of the connection.
Step #8 Test The System
Testing the overall system is essential to ensure that your system is working correctly. This step involves checking leaks and verifying all components’ functions. You can follow the steps below to test a hydraulic system.
- First, you can do a visible inspection of all connections, hoses, and other components. The visual inspection ensures that every part is installed and aligned correctly.
- Second, use a pressure gauge to verify the desired pressure in the system. Pressure drops or fluctuations indicate a problem.
- Third, ensure no leaks in the system by conducting a leak test to verify. You can use soap and water solutions to all connections and watch for bubbles.
- Fourth, you can do additional tests to check the functionality of all components. The other test may include testing valves, pumps, and motors.
- Finally, conduct a functional test of the system. It verifies that the system is running safely and efficiently.
Conclusion
We have learned from the above that connecting hydraulic hoses requires several essential steps. It is necessary to follow these steps because it ensures a safe and reliable system. Yet, there may be some complications that you may face with your hydraulic system. In those cases, we recommend consulting with professionals. You could also contact our customer service team. We keep one of the best teams in customer service. Our expert engineers are always waiting to answer your queries.
Rentonehose offers a wide range of industrial and commercial hoses. You may find a variety of hydraulic hoses in their stock. They follow international standards to maintain the world market. You can also create customized hydraulic hoses from their factory.